
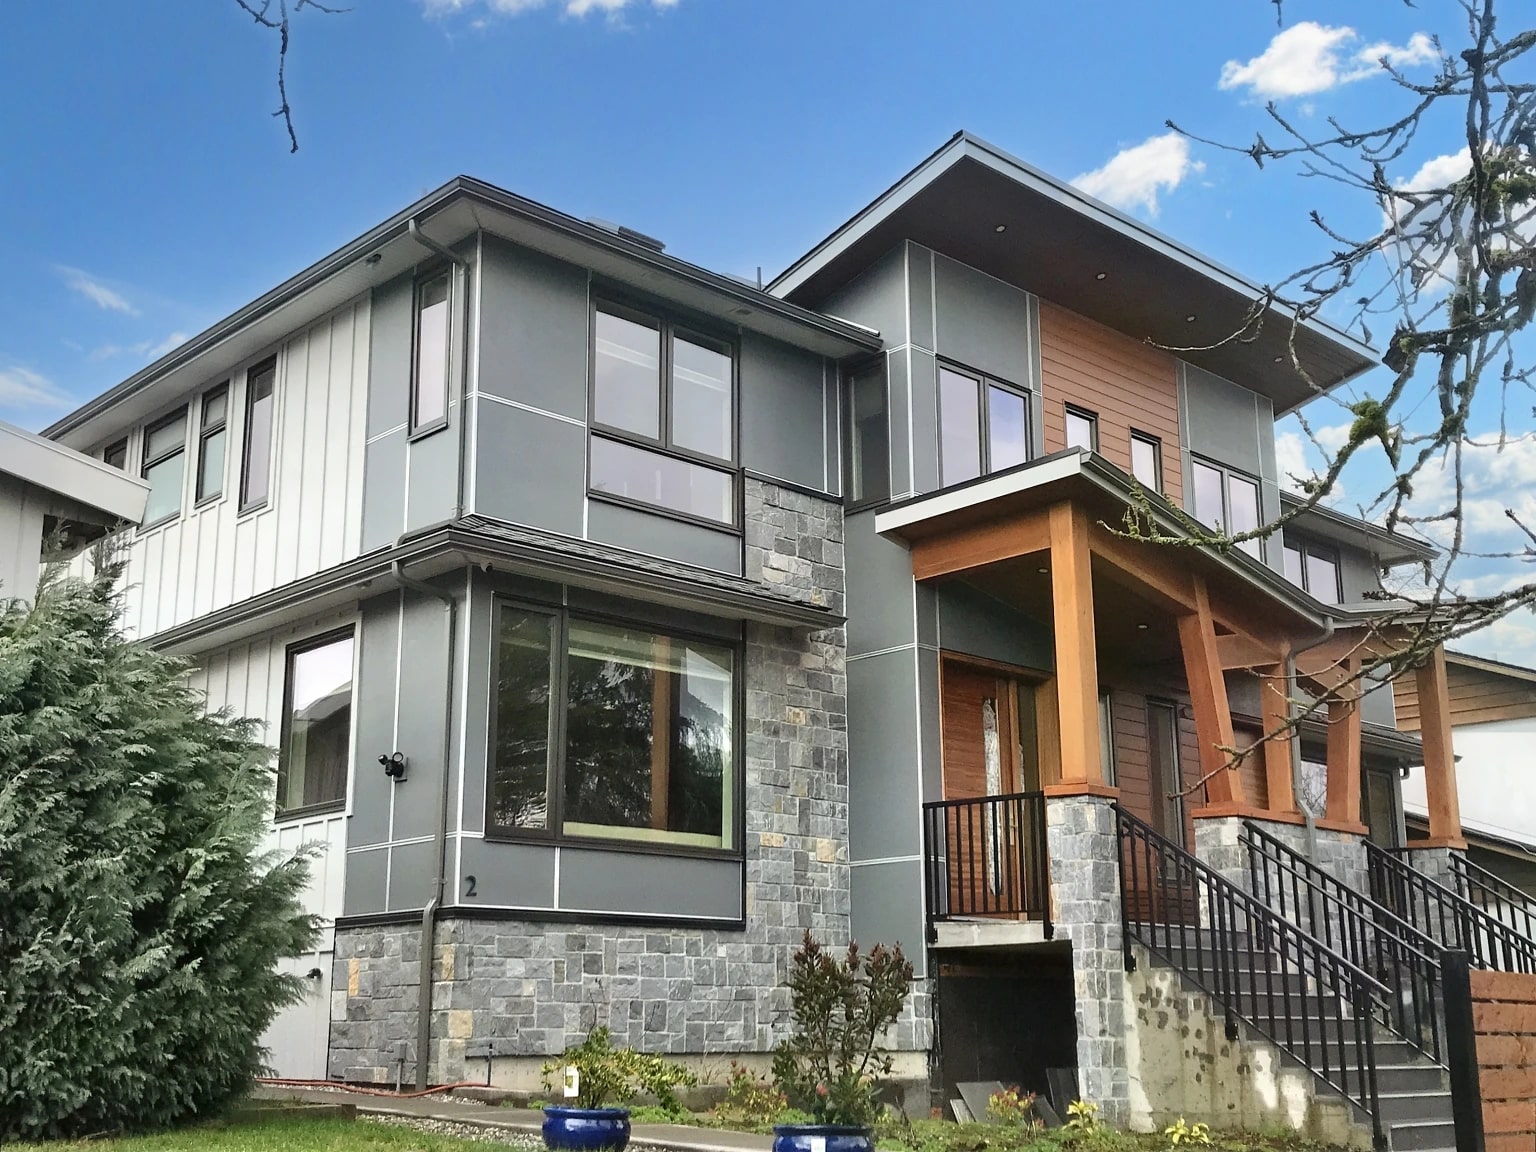
Ultimate Exterior Sealing Guide for Water Protection
Step-by-step exterior sealing for wet climates: choose sealants, prep surfaces, prevent rot and mold. DIY tips, tool list, costs, and when to hire pros.
By Seattle Trim Repair · Published · Updated
Protecting your home from water damage starts with proper exterior sealing. In rainy climates like Seattle, unsealed gaps are not just minor issues – they are direct pathways for moisture to enter your home’s structure. With over 155 rainy days annually and persistent humidity, even small cracks can lead to wood rot, mold, and structural damage that cost thousands to repair.
The financial math is clear. Minor sealant repairs cost $75 to $300, but neglecting them can lead to bills exceeding $6,500 for structural remediation. Over 20 percent of home insurance claims each year are linked to water infiltration, and foundation cracks caused by hydrostatic pressure alone can lead to repair bills ranging from $5,000 to $20,000.
This guide breaks down the essentials: why sealing matters, the best materials for Seattle’s climate, DIY steps for proper application, and when to call in professionals.
Why Exterior Sealing Matters in Seattle
Water damage does not announce itself. It starts quietly in unsealed gaps and builds over time, causing dry rot, mold, and structural failure.
How Water Damage Affects Your Home
When moisture sneaks through unsealed gaps, it wreaks havoc. Dry rot is a common issue in Seattle, turning wood soft, crumbly, and musty-smelling. Once affected, the wood loses its ability to hold paint and becomes ineffective at keeping water out.
In the Pacific Northwest, water infiltration causes over 20 percent of home insurance claims each year. Foundation cracks caused by hydrostatic pressure alone can lead to repair bills ranging from $5,000 to $20,000. In Seattle, unsealed crawl spaces often suffer from bowed walls after enduring repeated winter rains, requiring major structural repairs.
Mold thrives on moist surfaces within just 24 to 48 hours. It releases spores that can cause respiratory issues, and Seattle’s high humidity combined with poorly ventilated, unsealed walls creates the perfect breeding ground for black mold. This not only lowers indoor air quality but also often demands costly professional remediation.
Seattle’s Climate Demands Extra Attention
Seattle experiences 150 to 160 rainy days per year. The city’s rain pattern is not dramatic downpours but prolonged drizzle that seeps into unprotected gaps in siding, windows, and foundations. High humidity – hovering around 70 to 80 percent – combined with mild temperatures between 40 and 70 degrees, creates ideal conditions for wood decay and fungal growth.
Wind-driven rain easily slips through unsealed joints, channeling water to vulnerable areas like trim, basements, and crawl spaces. Add to that over 40 inches of annual rainfall, and you have high groundwater levels exerting hydrostatic pressure on foundations, leading to seepage in below-grade areas.
Unlike drier regions, Seattle’s clay-rich soil holds onto moisture, keeping foundations saturated year-round and making waterproofing essential. Experts agree that using flexible sealants like silicone or polyurethane can block up to 90 percent of moisture entry when applied correctly.
Tools and Materials You Need
Having the right tools and materials makes the difference between a seal that lasts years and one that fails in the first winter.
Application Tools
To get a clean, even seal, a caulking gun is essential. It helps control the flow of sealant and minimizes drips. A smooth-rod caulking gun is particularly helpful for better precision.
Pair this with a utility knife to cut the nozzle at a 45-degree angle and to remove any old caulk. For larger gaps – anything wider than 1/2 inch – backer rods are incredibly useful. These foam rods fill deep spaces, giving the sealant something to adhere to.
Use a caulking spatula to press the sealant firmly into place and ensure a watertight finish. On porous surfaces, applying a primer beforehand can help create a longer-lasting seal.
Before sealing, check the moisture level of wood using a moisture meter. The wood should have a moisture content of 12 percent or less to ensure effective sealing.
Types of Sealants
Silicone sealant works well in areas exposed to high moisture, like windows and doors. It stays flexible for 15 to 25 years, resists mold, and can handle extreme temperatures from -65 to 300 degrees. The downside is it is not paintable, so it is best for spots where painting is not required.
Polyurethane sealant is the top choice for outdoor use in the Pacific Northwest, especially on wood and concrete. It bonds well with porous materials, can be painted after curing, and some types remain flexible for up to 50 years. This makes it ideal for Seattle’s constant moisture and temperature fluctuations.
For coastal areas, spar urethane is often the preferred option. It provides nearly 98 percent water resistance and can flex up to 200 percent without cracking, making it ideal for wood in wet climates.
Acrylic latex caulk has moderate waterproofing and limited flexibility. It works for interior trim and low-movement joints but is not recommended for Seattle’s exterior applications where moisture exposure is constant.
Investing in high-quality sealants is especially important in Seattle’s wet climate. While prices can range from $6 to over $700 for bulk options, a good waterproof sealant typically costs around $65. Spar urethane costs about $40 per gallon, and standard exterior polyurethane is approximately $35 per gallon.
Skimping on proper sealing can lead to repair costs that are five to ten times higher than the initial expense.
How to Prepare Surfaces for Sealing
Proper preparation is the backbone of any successful sealing project, especially in a damp climate like Seattle. Experts estimate that 80 percent of the success of exterior protection depends on proper preparation.
Cleaning and Inspection
Start by clearing away old caulk with tools like a putty knife, razor, or utility knife. Make sure to also remove dirt, dust, and any vegetation that may be clinging to the surface.
For mildew, mix 1 quart of bleach with 3 quarts of water, scrub thoroughly, and rinse. If you are dealing with metal, use a wire brush or sander to remove rust. For masonry, tackle any white, powdery efflorescence the same way. Paint that is peeling or rough spots on the surface should be scraped and sanded down to ensure the sealant has a solid base to adhere to.
After cleaning, let everything dry completely. Allow at least 48 hours for drying after pressure washing, or even longer if the humidity is high. During this time, inspect the wood by pressing a screwdriver or your finger into it. Soft, spongy, or crumbling areas indicate rot that must be dealt with before sealing.
Fixing Damage First
Clean and dry surfaces are just the starting point – any damage needs to be repaired before you apply a sealant. Sealing over damaged areas is a temporary fix at best.
Rotten material must be removed down to solid wood. For minor rot, you can rebuild the area using epoxy fillers. However, more extensive damage may require replacing the affected sections.
For gaps larger than 1/2 inch, insert foam backer rods to provide support for the sealant. Secure any loose boards that may have shifted over time – movement can cause freshly applied sealant to crack.
One key tip: avoid sealing areas that are meant to breathe, such as soffit vents or weep holes in siding. Trapping moisture in these spots can lead to rot and bigger problems down the line.
Where and How to Apply Sealant
Once surfaces are prepared and any damage is addressed, it is time to apply sealant to keep water from sneaking in where it should not.
Windows, Doors, and Trim
Focus on the joints where window and door trim meet siding or frames – prime spots for water to seep in. Cut the nozzle of the caulk tube at a 45-degree angle and puncture the inner seal.
To keep things neat, apply blue painter’s tape on both sides of the joint, leaving a gap of 1/4 to 3/8 inch. Hold the caulking gun at a 45-degree angle and use steady, even pressure. After applying the bead, smooth it out immediately with a dampened finger, a plastic spoon, or a wooden stick.
High-quality acrylic latex caulks can stretch up to 100 percent of the joint size without tearing, making them perfect for areas that expand and contract. If the gap is wider than 1/4 inch, insert a backer rod first to provide a stable base.
Siding and Wall Joints
For siding and wall joints, seal seams and nail holes to keep water out. Pay close attention to corner boards where they meet siding, as well as any visible nail holes.
For larger gaps – up to two inches wide – use a backer rod before applying caulk. This ensures the sealant bonds only to the sides of the joint, providing a more durable seal.
One important tip: avoid sealing areas that need to breathe. For example, do not seal siding butt joints if there is metal flashing present, as this could trap moisture. Also, south-facing and west-facing walls often need resealing more frequently due to higher UV exposure.
Foundation Transitions and Below-Grade Walls
The point where the wall assembly meets the foundation carries its own set of challenges. Pay special attention to the transition where exterior trim meets masonry, like brick or concrete. These joints are prone to movement because different materials expand and contract at different rates.
Use acrylic latex sealants designed to stay elastic through temperature changes, offering up to 800 percent elongation for dynamic joints. Where siding meets a below-grade foundation wall, consider liquid membranes or self-adhering sheets applied to the exterior face of that wall.
Be thorough around areas where fascia boards and soffits meet the foundation. Check for metal fixtures, gas pipes, and electrical conduits attached to the exterior, as these are common spots for leaks and need proper sealing.
Common Sealing Mistakes to Avoid
Even the best tools and materials cannot save a job done incorrectly. Avoiding these common mistakes ensures your sealant performs as intended.
Skipping Proper Cleaning
Surfaces that are not cleaned thoroughly will not allow the sealant to bond properly, leading to weak adhesion and premature flaking. Always remove all old caulk, dirt, and debris before applying new sealant.
Sealing Wet or Damp Surfaces
Moisture is a major enemy of proper adhesion. If you apply sealant to a surface that is not completely dry, you risk trapping moisture, which weakens the bond. This is especially problematic during Seattle’s rainy season – wait for a dry spell to ensure a solid seal.
Incorrect Application Thickness
Using too much sealant can cause it to crack and peel, while too little leaves the surface vulnerable. For gaps wider than 1/2 inch, use backer rods properly to provide support and control thickness.
Cut the sealant tube tip slightly smaller than the gap you are filling for better control. Smooth the bead with a spatula or plastic spoon to push the sealant securely into the cavity.
Sealing Over Structural Damage
Sealant is not a fix for rotting wood or significant gaps. If you seal over rotted wood or major structural issues, the decay will continue spreading beneath the sealant, eventually leading to structural failure. Always remove damaged material completely before applying sealant.
Ignoring Weather Conditions
Sealants need the right temperature and conditions to cure properly. Applying sealant when it is below 50 degrees or just before rain can prevent it from setting correctly. Ideally, ensure nighttime temperatures stay above 40 degrees for at least 24 to 48 hours after application.
When to Hire a Professional
While DIY sealing can cover basic upkeep, there are situations where professional expertise is essential to avoid expensive structural fixes down the road.
Red Flags That Mean It Is Time to Call a Pro
If you notice sagging rooflines, uneven trim, or wobbly joints, these could indicate structural damage that extends beyond what sealant can fix. Similarly, if the damage spans more than 8 linear feet or impacts multiple windows and doors, the project is likely too complex for a DIY approach.
Recurring leaks, even after you have tried fixing them yourself, often point to deeper issues like faulty flashing or structural problems that need professional attention. Safety is another critical factor. Multi-story homes, steep roofs, and hard-to-reach spots require specialized equipment and expertise.
Older homes may also contain hazardous materials like lead paint or asbestos in caulking, which only professionals should handle. If you encounter soft, crumbling, or fuzzy wood, this could signify advanced fungal decay, which needs immediate professional treatment.
A simple test can help identify dry rot: use a screwdriver to gently probe your exterior trim. If the wood feels soft or crumbles, it is time for professional remediation instead of a quick sealant fix.
Exterior sealing is your home’s first line of defense against Seattle’s 155 rainy days each year. Choosing the right sealant and applying it correctly helps safeguard your home from water damage and extends its lifespan.
With proper materials and preparation, your home’s exterior protection can last 7 to 10 years in Seattle’s wet climate. Performing annual inspections – checking for peeling paint, joint gaps, or soft spots – can help catch issues early.
If you are facing rotted trim, recurring leaks, or damage spanning large areas, contact our team for professional moisture protection services designed for the Pacific Northwest climate.
Not sure how bad yours is?
Send a photo or describe the spot over the phone. We will tell you whether it is a patch, a section, or something structural before anyone comes out.
Mon–Fri, 7:00am – 5:00pm
Questions homeowners ask us about this
How do I know if a gap should be sealed or left to breathe?
Which sealant should I use for exterior wood in Seattle?
What are the warning signs that I need a professional, not DIY sealing?
How often should I inspect and reseal my home's exterior in Seattle?
Read next
- Dry Rot
5 Moisture Control Tips to Prevent Dry Rot
Five proven moisture-control steps to prevent dry rot: improve ventilation, fix leaks promptly, clean gutters, seal exposed wood, and schedule inspections.
- Dry Rot
Preventing Water Intrusion in Seattle Homes: Essential Guide
Ignoring small leaks in Seattle invites expensive dry rot and mold. Seal trim, install moisture-resistant siding, and maintain gutters to prevent damage.
- Dry Rot
How to Stop Wood Rot: A Seattle Homeowner's Guide
Learn how to identify, treat, and prevent wood rot in Seattle's wet climate. Understand when DIY works and when to call a dry rot specialist.
Where this leads
Get a straight answer on your siding, trim, or rot
Free estimate, no obligation, and usually a slot the same week. We cover Seattle, Bellevue, Redmond, Kirkland, Bothell, and Tacoma.
Mon–Fri, 7:00am – 5:00pm · Free estimates · Same-week scheduling