
Preventing Water Intrusion in Seattle Homes: Essential Guide
Ignoring small leaks in Seattle invites expensive dry rot and mold. Seal trim, install moisture-resistant siding, and maintain gutters to prevent damage.
By Seattle Trim Repair · Published · Updated
Seattle’s rainy climate poses a constant threat of water intrusion, endangering both your home’s structure and your family’s health. With over 150 rainy days annually and clay-heavy soil that retains water, moisture can seep into foundations, walls, and crawl spaces, causing dry rot, mold, and structural damage that can cost tens of thousands to repair.
Early detection and consistent maintenance are your best defenses against these costly problems. Understanding how to identify water intrusion, seal entry points, choose moisture-resistant materials, and maintain critical drainage systems will protect your Seattle home from the damage that constant rainfall inevitably brings.
This guide covers everything you need to know about preventing water intrusion in Seattle homes: recognizing warning signs, sealing vulnerabilities, selecting appropriate siding materials, maintaining gutters, and knowing when to call professionals for inspections and repairs.
Identifying Water Intrusion in Your Home
Catching water intrusion early can save you from repairs that exceed $50,000. The key is knowing how to spot both visible and hidden signs of moisture problems.
Visible Warning Signs
Your walls and ceilings often reveal the first clues. Look for brown or yellow stains, bubbling paint, or peeling wallpaper—classic indicators of moisture problems. If a wall feels soft to the touch, it’s likely already damaged and needs attention.
Floors tell their own story. Hardwood or laminate floors may buckle, warp, or lift when exposed to water. Carpets might develop damp spots or musty smells. Even tile floors can crack or lift, signaling water damage beneath.
Outside your home, watch for efflorescence—a white, powdery residue on concrete foundation walls that forms when water evaporates and leaves minerals behind. Spongy exterior trim or bubbling paint on siding are red flags, especially in Seattle’s wet weather.
Structural changes provide additional clues. Doors that no longer close properly or new cracks in walls might indicate swelling wood or shifting foundations caused by water exposure. An increase in moisture-loving pests like carpenter ants, termites, or silverfish could signal hidden leaks or damp wood.
Hidden Water Damage
Not all water issues are immediately visible. A musty or earthy smell often hints at mold growing inside walls, even when you can’t see it. Faint dripping sounds behind walls are another clue that something is wrong.
Your water meter can uncover hidden leaks. Note the reading, avoid using water for two hours, then check again. If the reading has changed, you likely have a leak. Similarly, an unexplained spike in your water bill could point to a cracked water line or hidden issue. Fixing small leaks could save around 10% on water bills.
Other subtle signs include excessive condensation on windows or metal surfaces and blocked crawl space vents—both suggest high indoor humidity that prevents moisture from escaping.
Sealing and Repairing Entry Points
Your home’s exterior trim—fascia boards, soffits, window casings, and corner boards—acts as the first defense against moisture. When these joints fail, water infiltrates sheathing and framing, leading to expensive damage.
Identifying Problem Areas
Use the screwdriver test to identify trouble spots: press a flathead screwdriver into trim joints or areas near the ground. Spongy or crumbling wood indicates it’s time for replacement, not just patching.
Proper Repair Technique
Remove all damaged wood back to solid sections. Since dry rot thrives in wood with 20% or higher moisture content, thorough sealing is essential. Small areas of damage might be repairable with epoxy patching, but widespread rot requires full replacement.
After removing compromised sections, seal every seam, nail hole, and joint with high-grade elastomeric sealants for a watertight finish. A healthy coat of paint is more than cosmetic—it’s a waterproof barrier that protects against Seattle’s relentless moisture.
If working with fiber cement or engineered wood, seal every cut edge to prevent moisture from seeping in and causing damage over time.
Foundation Sealing
Don’t overlook your foundation. Even without visible cracks, porous concrete can allow water through. Ensure soil around your home slopes away from the foundation to prevent water pooling—this prevents the “clay bowl effect” where water accumulates against your structure.
Installing a professional vapor barrier in crawl spaces stops ground moisture from condensing on floor joists, protecting the structural wood that supports your home.
Choosing Moisture-Resistant Siding Materials
Not all siding materials handle Seattle’s wet climate equally. Your choice impacts both upfront costs and long-term maintenance.
Material Performance Comparison
| Material | Performance | Best Use Case | Maintenance |
|---|---|---|---|
| Fiber Cement | Rot-proof, fire-resistant, holds paint well | Durable and ideal for tough conditions | Sealed joints and cut-end protection required |
| Engineered Wood | Treated for stability and durability | Affordable with superior paint finish | Needs primed edges and kickout flashings |
| Cedar/Redwood | Naturally resistant to rot and insects | Classic Pacific Northwest aesthetic | Regular oil-based treatments required |
| PVC/Composite | Completely water and insect-proof | Low-maintenance with higher upfront cost | Minimal upkeep |
| Vinyl | Budget-friendly, acts as rain screen | Cost-effective moisture protection | Precise installation prevents buckling |
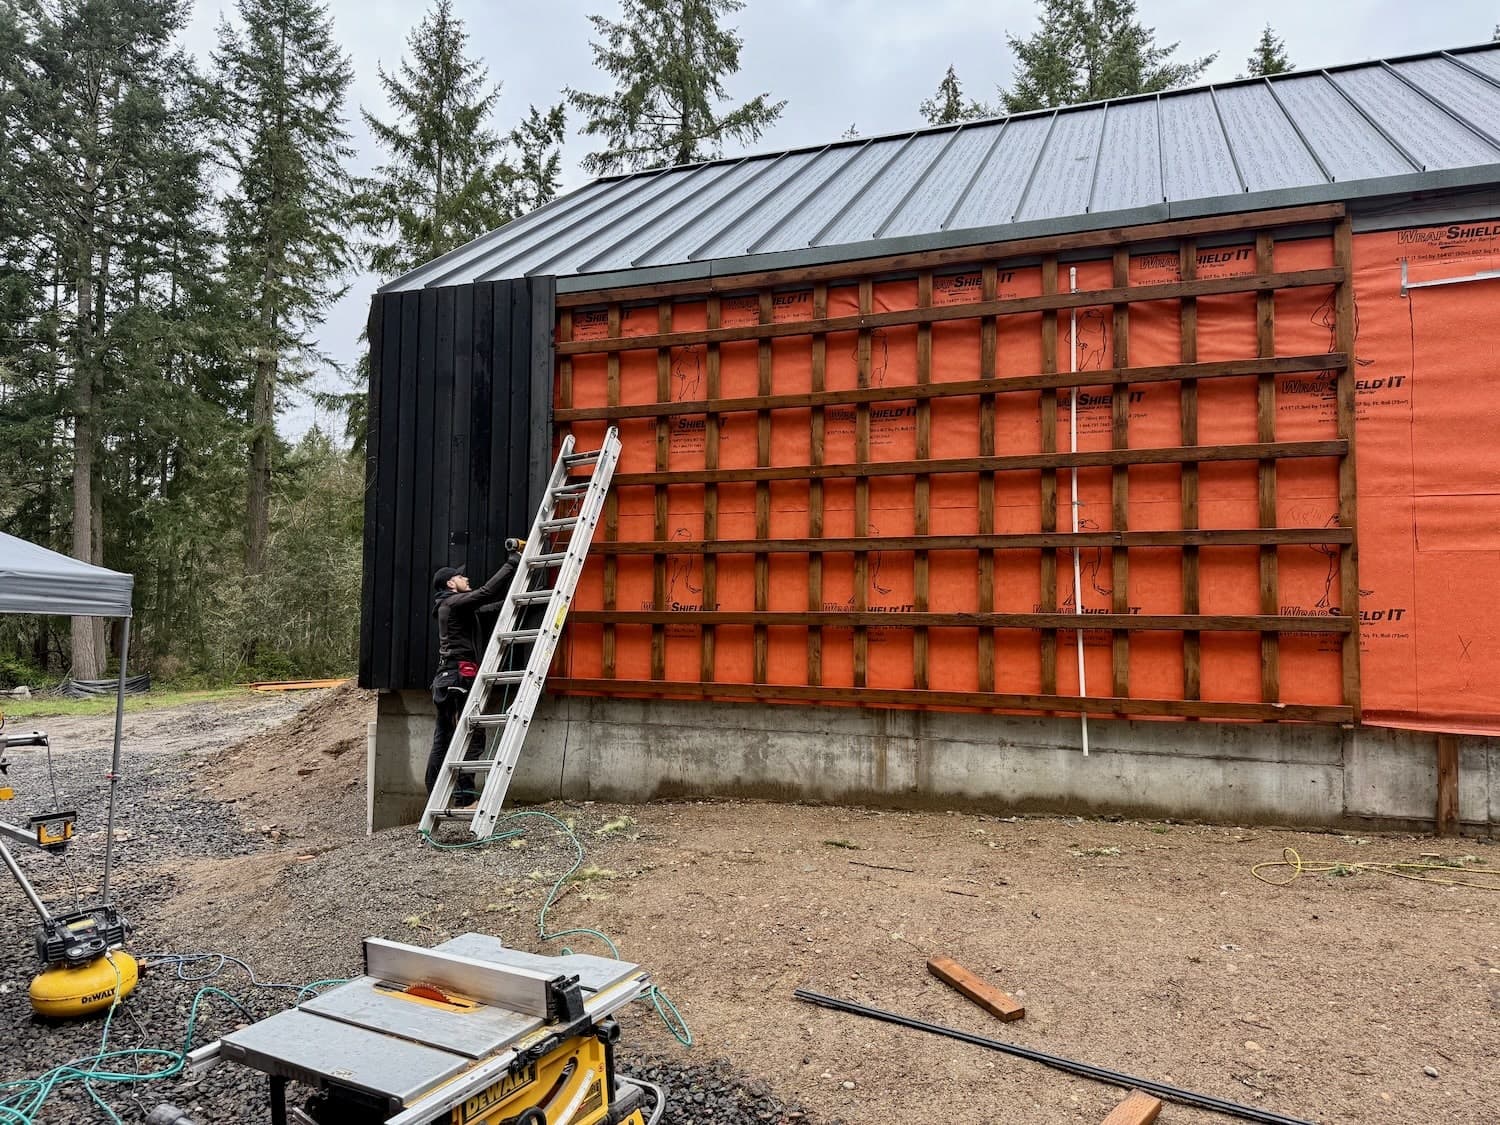
Performance isn’t just about the material itself. Seattle’s wind-driven rain can push water uphill and behind cladding. Adding a rain screen—a small drainage gap of 3mm to 10mm—behind fiber cement siding in high-exposure areas helps trapped moisture escape.
Proper flashings are equally essential: metal head flashings with end dams and flexible pan flashings at sills create a complete water management system that keeps moisture where it belongs—outside your home.
Maintaining Gutters and Downspouts
Clogged gutters are one of the top culprits behind dry rot in the Pacific Northwest. Overflowing gutters direct water onto fascia boards, soffits, and siding, saturating them and creating the perfect environment for rot.
Regular Cleaning Schedule
Clean your gutters at least twice yearly—more often if you have overhanging trees. Ensure downspouts direct water several feet away from your foundation to avoid pooling that can saturate the sill plate and lead to frame damage.
For hard-to-reach areas like the roofline, use binoculars to inspect for peeling paint, gaps in trim, or water stains. Regular visual checks catch problems early before they require expensive repairs.
Some homeowners opt for professional maintenance plans that include gutter cleaning and exterior caulking checks, staying ahead of potential issues through preventive care.
When to Hire a Professional
While small repairs can be satisfying DIY projects, hidden water damage requires professional expertise. In Seattle’s rainy climate, water can seep into walls, crawl spaces, and structural framing, often going unnoticed until extensive damage has occurred.
Dry Rot Inspections and Repairs
Dry rot is a major concern in the Pacific Northwest. This fungal decay spreads silently, often hiding behind drywall or siding while weakening your home’s structure. Its thread-like hyphae thrive in moisture-rich environments, making Seattle homes particularly vulnerable.
Schedule dry rot inspections twice yearly—ideally in spring, fall, or after heavy storms. Moisture levels above 20% create perfect conditions for fungal growth, so early detection is critical.
If dry rot is found, remediation requires more than patching visible damage. Professionals typically remove the affected area plus a buffer zone of about three feet in every direction. The next step involves treating the area with EPA-approved fungicides to ensure decay doesn’t return.
Attempting to fix rot without professional inspection is like solving a puzzle without all the pieces. It’s a gamble that leads to recurring issues and more extensive damage as the problem spreads to critical structural elements. Ignoring early signs can cause repair costs to skyrocket.
Siding and Trim Repair Services
Peeling paint, soft wood, or gaps in trim are clear signs you need professional help. Seattle-area specialists protect homes from the elements with services ranging from fascia replacement to full siding installations using materials tailored for wet weather: fiber cement, cedar, and PVC composites offer durability and long-term protection.
Professionals don’t just fix visible issues—they address underlying problems like failed flashing, poor drainage, or insufficient ventilation to prevent recurring damage. Many offer warranties, such as two-year guarantees or satisfaction promises, giving homeowners added peace of mind.
Repair and Replacement Costs
Understanding typical costs helps you budget for necessary repairs:
| Repair Extent | Price Range | What’s Included |
|---|---|---|
| Minor | $120-$400 | Small patches (less than 2 ft), epoxy filling, paint touch-ups |
| Moderate | $1,500-$2,800 | Sectional replacement (2-8 ft), flashing repairs, material matching |
| Extensive | $4,500-$12,000+ | Structural framing work, large-scale siding replacement, mold remediation |
Total cost depends on damage severity. Localized repairs are far less expensive than structural fixes. Material choices can increase costs by 20 to 30%, especially for premium options like composite trim or fiber cement siding.
Labor rates in Seattle typically range from $65 to $120 per hour. Repairs on multi-story homes may cost 25 to 65% more due to equipment needs. Structural work requiring permits can add another $500 to $1,500.
To get the best value, request two or three detailed quotes breaking down labor, materials, and permit fees. Catching problems early with professional inspection saves you from much higher emergency repair costs later.
Taking Action to Protect Your Home
Water intrusion is a serious issue for Seattle homeowners, but it’s preventable. The key is early detection—watch for warning signs like stains, bubbling paint, musty smells, or warped floors. Spotting these issues early prevents small repairs from becoming costly renovations.
Routine maintenance is your strongest defense: seal entry points properly, choose moisture-resistant siding materials suited to Seattle’s climate, and maintain gutters and downspouts to channel water away from your foundation.
Pair regular maintenance with professional inspections, and you’ll be well-equipped to protect your home for the long haul. Professional inspectors use specialized tools like moisture meters to uncover hidden moisture before it leads to structural damage or dry rot.
Don’t let minor problems spiral into expensive disasters. Schedule an inspection, address visible problems quickly, and commit to regular upkeep. Preventing dry rot is the single most cost-effective investment you can make in your home’s health and value.
For professional guidance on preventing water intrusion in Seattle’s demanding climate, contact a local specialist who understands the unique challenges of protecting homes in the Pacific Northwest.
Not sure how bad yours is?
Send a photo or describe the spot over the phone. We will tell you whether it is a patch, a section, or something structural before anyone comes out.
Mon–Fri, 7:00am – 5:00pm
Questions homeowners ask us about this
How can I tell if moisture is coming from outside or from a plumbing leak?
What is the fastest way to keep water away from my foundation during heavy rain?
Do I need a rain screen behind new siding in Seattle?
Read next
- Siding Repair
How to Detect Siding Leaks Before Major Damage
Simple inspections, visual checks, hose tests, and moisture meters help spot siding leaks early to prevent rot, mold, and expensive repairs.
- Exterior basics
Ultimate Exterior Sealing Guide for Water Protection
Step-by-step exterior sealing for wet climates: choose sealants, prep surfaces, prevent rot and mold. DIY tips, tool list, costs, and when to hire pros.
- Exterior basics
Seasonal Gutter Maintenance Guide for Seattle
Seattle gutter care by season: spring clearing, summer repairs, fall leaf removal, winter ice management. Prevent water damage and dry rot year-round.
Get a straight answer on your siding, trim, or rot
Free estimate, no obligation, and usually a slot the same week. We cover Seattle, Bellevue, Redmond, Kirkland, Bothell, and Tacoma.
Mon–Fri, 7:00am – 5:00pm · Free estimates · Same-week scheduling