
Dry Rot Inspection Checklist for Homeowners
Step-by-step dry rot inspection guide with tools, checklists, and warning signs for Seattle homeowners. Catch hidden damage before costly repairs.
By Seattle Trim Repair · Published · Updated
Dry rot is one of the most damaging threats to wood-framed homes in Seattle. Unlike surface decay that you can see and address quickly, dry rot is caused by fungi that consume the cellulose inside wood, leaving it brittle and structurally unsound long before visible damage appears. The Pacific Northwest climate provides ideal conditions for these fungi: wood moisture content above 20 percent, temperatures between 50 and 90 degrees Fahrenheit, and poor ventilation that keeps wood damp for extended periods.
Early detection is the difference between a $300 repair and a $5,000 structural remediation. Dry rot spreads rapidly once established, and the fungus can travel across non-wood materials like masonry to reach new timber up to 30 feet away. Regular inspections using simple tools and a systematic checklist allow homeowners to catch dry rot in its early stages, when fixes are straightforward and inexpensive.
Essential Tools for Dry Rot Inspection
Before you begin, gather these tools to make your inspection thorough and effective.
Moisture Meter
A moisture meter measures the percentage of water in wood. Readings above 20 percent indicate conditions favorable for dry rot fungus. Pin-style meters provide precise readings at specific points and are ideal for testing suspect areas like window sills and door frames. Pinless meters scan larger areas quickly and work well for checking wall sheathing and siding.
Focus readings on areas prone to water exposure: window frames, door thresholds, corners where trim meets siding, and anywhere you see staining or discoloration. Many moisture meters include a hold function, which is useful in dimly lit crawl spaces and attics where reading the display is difficult.
Screwdriver or Probe
A flathead screwdriver or awl is the simplest diagnostic tool for dry rot. Press it firmly into suspect wood. Healthy wood resists penetration and feels solid. Wood affected by dry rot allows the screwdriver to sink in easily, often penetrating one to two inches with moderate pressure.
If the wood crumbles under pressure, flakes away, or the screwdriver goes all the way through, the decay is advanced. Look also for wood that has a spongy texture or shows alligator-skin cracking patterns, both indicators of internal breakdown.
Flashlight and Mirror
A high-output LED flashlight (200 lumens or more) reveals subtle signs of dry rot in dark or shadowed areas. Look for grayish-white strands (hyphae), cotton-like mats (mycelium), or reddish-brown dust on surfaces. These are fungal structures that indicate active dry rot.
Pair your flashlight with a telescoping inspection mirror to view hidden areas: the underside of window sills, behind rim joists in crawl spaces, tight eave corners, and areas beneath shower pans or bath fixtures on exterior walls. These are common rot initiation points that go unnoticed until damage is severe.
Camera or Smartphone
Document every area of concern with photos. Take close-ups of discolored wood, fungal growth, and moisture stains, and capture wider shots showing the location within the home. Note the date and add brief descriptions. This documentation helps professionals trace problems back to their source, such as a failed flashing or a slow plumbing leak, and provides a baseline for tracking whether damage is progressing.
Comprehensive Dry Rot Inspection Checklist
Work through these areas systematically, checking each location for the warning signs described below.
Exterior Base and Foundation
Start at the lowest point where wood meets the ground. Sill plates, ground-level trim, and mudsills are high-risk areas because moisture from soil can wick upward into wood, and rain splash from hard surfaces keeps these areas wet longer.
Use your screwdriver to probe the sill plate every few feet, especially at corners and near downspouts. If the probe penetrates about an inch or more, rot is likely present. Look for dark stains running vertically up from the foundation, bubbling or peeling paint, and wood that appears checked or cracked in a cube-like pattern.
Check that wood sits at least 6-8 inches above grade. Direct contact with soil, mulch, or landscape rock accelerates decay. If plantings are tight against the house, moisture cannot escape and fungi thrive.
Windows, Doors, and Penetrations
Window sills and door thresholds are among the most common dry rot locations in Seattle homes. Failed caulking or improper flashing allows water to run into the framing behind the trim. Once inside, moisture becomes trapped and rot spreads through studs and headers.
Inspect the bottom corners of window casings where vertical and horizontal trim meet. Press on the wood with your thumb; if it feels soft or gives under pressure, probe with your screwdriver. Check for misaligned frames, which may indicate swollen or rotted framing behind the visible trim.
Look at skylights, sliding glass door tracks, and wall penetrations like dryer vents and exterior electrical boxes. These are often poorly flashed during initial construction, creating pathways for water intrusion. Use your flashlight and mirror to check underneath sills and thresholds for cotton-like fungal mats or grayish strands.
Decks, Porches, and Support Structures
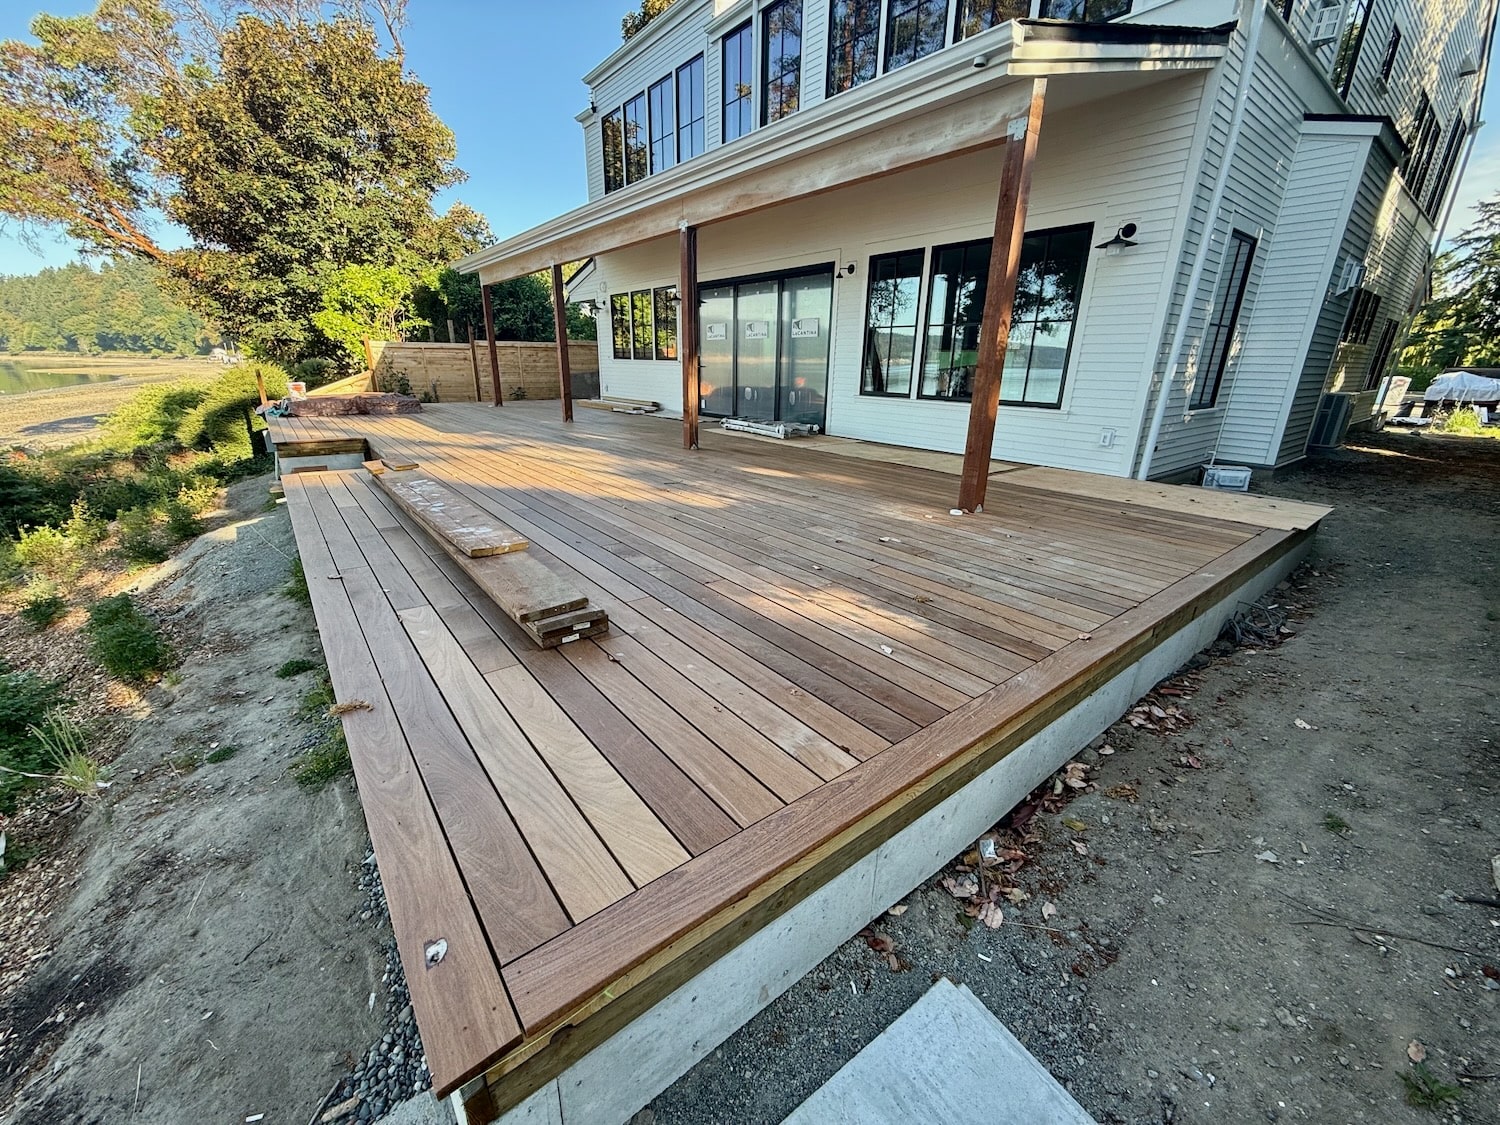
Outdoor structures see constant moisture exposure and are especially vulnerable in Seattle’s climate. Inspect the ledger board, where the deck attaches to the house. Poor or missing flashing here allows water to flow directly into your home’s framing, often causing extensive hidden damage.
Check deck posts, railings, and porch columns for soft or crumbly wood. Walk across the deck and note any areas that feel spongy or bounce more than others, which may indicate rot in joists or beams below. Look for mushroom-like fungal fruiting bodies near post bases and under stairs, signs of advanced decay.
Attic and Roof Edges
In the attic, inspect roof timbers near vents, exhaust fans, and any areas with past or present leaks. Condensation from inadequate ventilation can create moisture levels high enough for dry rot even without direct leaks. Look for water stains on rafters, white or yellowish stringy growth on wood surfaces, and a musty odor.
Outside, check gutters and roof edges for clogs and proper drainage. Water overflowing from clogged gutters saturates fascia boards and soffit panels, leading to rot. Inspect where the roof meets a vertical wall, a common failure point for flashing.
Crawl Spaces
Crawl spaces are high-risk because they combine moisture from soil, poor ventilation, and wood framing close to the ground. Focus on floor joists near exposed dirt and rim joists where outside moisture can seep in.
Look for standing water, damp wood, and condensation on framing members. Dry rot fungus can travel across concrete foundations and masonry to reach wood framing, so inspect joists even if they are not directly above wet soil. If you see dark or damp wood near your foundation, test it with your screwdriver.
Check that vapor barriers are in place and intact, covering all exposed soil. Poor or missing vapor barriers allow soil moisture to rise into the structure, elevating wood moisture content into the danger zone.
Warning Signs of Active Dry Rot
Recognizing the visual and tactile signs of dry rot allows you to distinguish between minor surface wear and serious structural decay.
Visual Indicators
Cuboidal cracking is one of the most distinctive signs. Affected wood splits into cube-like chunks, often described as alligator-skin appearance. The wood may also show discoloration, turning dark brown, orange, yellow, or white depending on the fungus species and moisture level.
Timber may shrink, warp, or bow as internal structure breaks down. Paint or finish may bubble, peel, or flake even when there is no visible water damage on the surface. Look also for rust-colored or orange-brown dust on nearby surfaces, which is spore dust released by the fungus.
Textural Indicators
Use your screwdriver to probe suspect wood. If it sinks in easily or the wood flakes and crumbles, internal decay is present. Affected wood often feels soft or spongy under pressure, indicating that cellulose has been consumed and structural integrity is compromised.
Flooring or decking that feels bouncy or gives underfoot is another red flag. Dry rot consumes the cellulose that gives wood its strength and rigidity, leaving behind lignin, a soft flaky material that crumbles between your fingers.
Fungal Growth and Odors
A musty, damp smell is often the earliest warning sign, detectable before visible damage appears. In the initial stages of dry rot, you may see a fine layer of reddish, orange, or brown dust on the wood surface.
As the fungus develops, it produces grey or white web-like strands called hyphae on or under the wood. In advanced cases, white or grey cotton-wool-like mats (mycelium) appear, often in hidden areas like behind walls or under floors.
Fruiting bodies are mushroom-like or pancake-shaped growths, typically orange or brown with concentric rings. They form when the fungus is well-established and indicate significant hidden damage. These are most common in crawl spaces, attics, and behind siding.
When to Call a Professional
If your inspection reveals soft wood in structural members like floor joists, support beams, wall studs, or roof trusses, professional intervention is necessary. Repairs to these components often require temporary bracing to maintain structural stability during remediation.
Dry rot spreads in ways that are not always visible. The fungus can grow behind drywall, under flooring, and across masonry, reaching distances of up to 30 feet from the visible damage. A professional inspection includes moisture mapping, thermal imaging, and testing to determine the full extent of hidden decay.
Document your findings with photos before contacting a professional. Close-ups of fungal growth, cracked wood, and moisture sources help inspectors assess severity and prepare an accurate estimate. If moisture meter readings are consistently above 20 percent, or if you detect musty odors but cannot locate the source, a professional can identify hidden leaks or ventilation problems.
Costs for dry rot repair vary widely. Minor trim repairs may cost $200-500, while extensive structural work involving framing, siding, and sheathing replacement can exceed $5,000. Early professional diagnosis prevents small problems from escalating into major structural failures.
For Seattle-area homeowners, professional inspectors familiar with Pacific Northwest moisture patterns can identify the specific causes of rot, such as failed flashing, poor attic ventilation, or grading issues, and recommend solutions that prevent recurrence.
Contact our dry rot specialists at (425) 517-1751 for a free 15-point inspection if your checklist reveals areas of concern.
Not sure how bad yours is?
Send a photo or describe the spot over the phone. We will tell you whether it is a patch, a section, or something structural before anyone comes out.
Mon–Fri, 7:00am – 5:00pm
Questions homeowners ask us about this
What are the first signs that my home might have dry rot?
What tools do I need to inspect my home for dry rot?
How often should I inspect my Seattle home for dry rot?
When should I call a professional instead of inspecting myself?
Read next
- Dry Rot
5 Telltale Signs of Dry Rot in Seattle Homes
Learn to identify dry rot before it destroys your Seattle home—cuboidal cracking, brittle wood, musty odors, fungal growth, and fruiting bodies explained.
- Dry Rot
Dry Rot Identification Guide for Seattle Homeowners
Learn to spot dry rot signs early: cracked timber, musty odors, soft wood. Seattle-specific identification tips and what to do when you find it.
- Dry Rot
What is Dry Rot and Why It's a Problem in Seattle Homes
Learn what dry rot is and why Seattle homes are vulnerable. Spot it early, prevent costly damage—get expert guidance from Seattle dry rot specialists.
Get a straight answer on your siding, trim, or rot
Free estimate, no obligation, and usually a slot the same week. We cover Seattle, Bellevue, Redmond, Kirkland, Bothell, and Tacoma.
Mon–Fri, 7:00am – 5:00pm · Free estimates · Same-week scheduling